Backpacking Yosemite’s North Rim: Stunning Views above the Valley
El Capitan, Upper Yosemite Falls, and North Dome
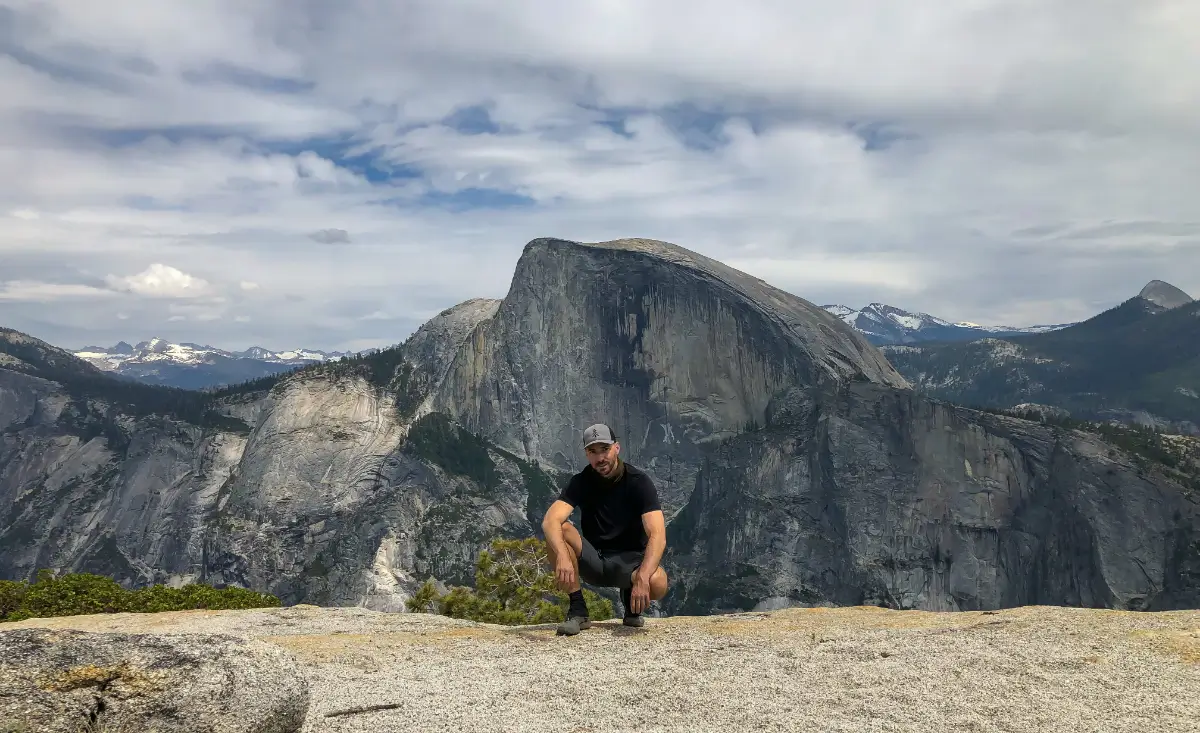
This was a 4-day backpacking trip on the North Rim of Yosemite National Park in mid-Summer. On this trip, I camped on top of El Capitan, at Upper Yosemite Falls, and on North Dome, with detours to Eagle Peak & Indian Rock.
Trip Details:
- Trip Duration: 4 Days, 3 Nights
- Total Distance: 26.4 Miles
- Elevation Gain: 4,400 Feet
- Trail Type: Through Hike (one-way)
- Trailhead: Yosemite Creek Trailhead
- Permit Required: Yes for overnight backpacking. Highly competitive, however Yosemite Creek Trailhead may not be as popular as other trailheads. Apply as early as possible.
- Best Time to Visit: Late Spring to Early Fall (May to October)
Day 1
Route: Yosemite Creek Trailhead to El Capitan
Mileage: 11.0 miles | Highlights: Majestic views from El Capitan
I began the trip by parking my car at the Porcupine Creek Trailhead, where I would be finishing my hike. The goal was to hitchhike to the Yosemite Creek Trailhead (hitchhiking is legal in Yosemite).
It took about 45 minutes to catch a ride along Tioga Road. I considered myself to be relatively friendly looking, and I held out a sign that listed my destination and said “5 miles”, so folks would know it would be a real quick ride. However, after being passed by about 50 cars with no bites, I start getting nervous about whether I would actually be able to get a ride. So I started holding out a few dollar bills with my sign as well.
Another 25 cars went by without even much eye contact, and I started mentally preparing to walk the 5 miles along Tioga Road to my destination. However, just at that moment, a kind elderly couple towing a trailer camper pulled over and gave me a ride along with their big fluffy dog 😁
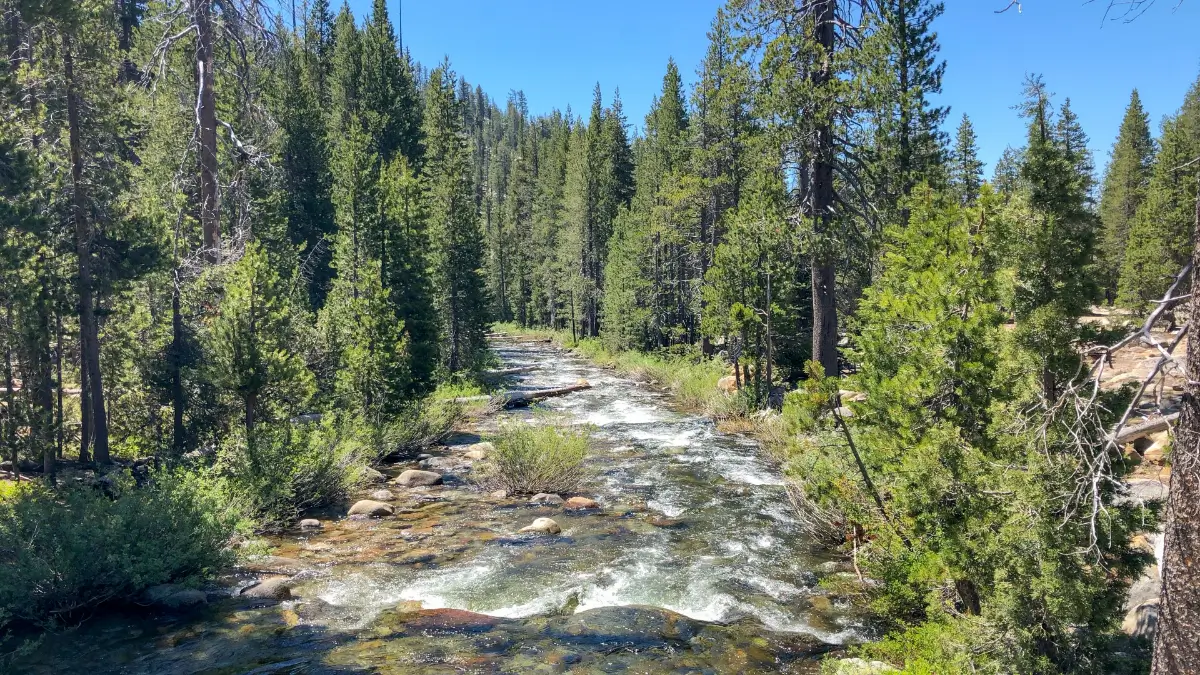
Yosemite Creek near the Trailhead
By the time I made it to the Yosemite Creek Trailhead, it was almost noon, so I stopped to eat one of my two burritos (I typically bring a refrigerated burrito for an afternoon snack on my first day of backpacking, and another frozen burrito which tends to thaw out around dinner time). I then headed out, excited by the prospect of camping on El Capitan, Upper Yosemite Falls and North Dome, and seeing some epic views of Half Dome.
Around 10 minutes in, I approached my first crossing of Yosemite Creek and found a group of young, “very wet” backpackers sitting by the creekside changing their wet socks. They informed me that the creek was waist-deep at the crossing, with no other way to cross. They were sitting around looking a bit shell-shocked by the (likely unexpected) prospect of their heavy, water-logged hiking boots…but I just grinned and plunged right in.
I hike in lightweight trail runners and all of my sensitive gear (quilt, clothes and electronics) are kept in a waterproof trash compactor back inside my backpack, so I’m not very concerned about water. I also recently spent a previous trip in Yosemite which included multiple days of hiking through ankle deep ice-water. So the thought of a quick river crossing on a sunny, summer day actually sounded pretty nice!
In a jiffy, i was on the other side and my shoes & clothes were dry within an hour of hiking.

Yosemite Valley and Half Dome, from the top of El Capitan
The 11-mile hike to the top of El Capitan was easier than I had expected. I guess I imagined the journey to the top of El Capitan would involve some kind of epic climb, but it is actually only 100 feet higher than the start of the Yosemite CreekTrailhead. The first 8 miles is a gradual downhill mixed with long sections of flat trail, followed by a gradual uphill section to the peak for the final 3 miles.
When I reached the top of El Capitan, I was greeted by majestic views of Yosemite Valley, Half Dome and Clouds Rest. I had my choice of campsites, and chose a spot facing east, near the edge of the summit. Although El Capitan is by no means the highest point in Yosemite (Clouds Rest is over 2,000 feet higher), I still felt like I was camping on top of the world!
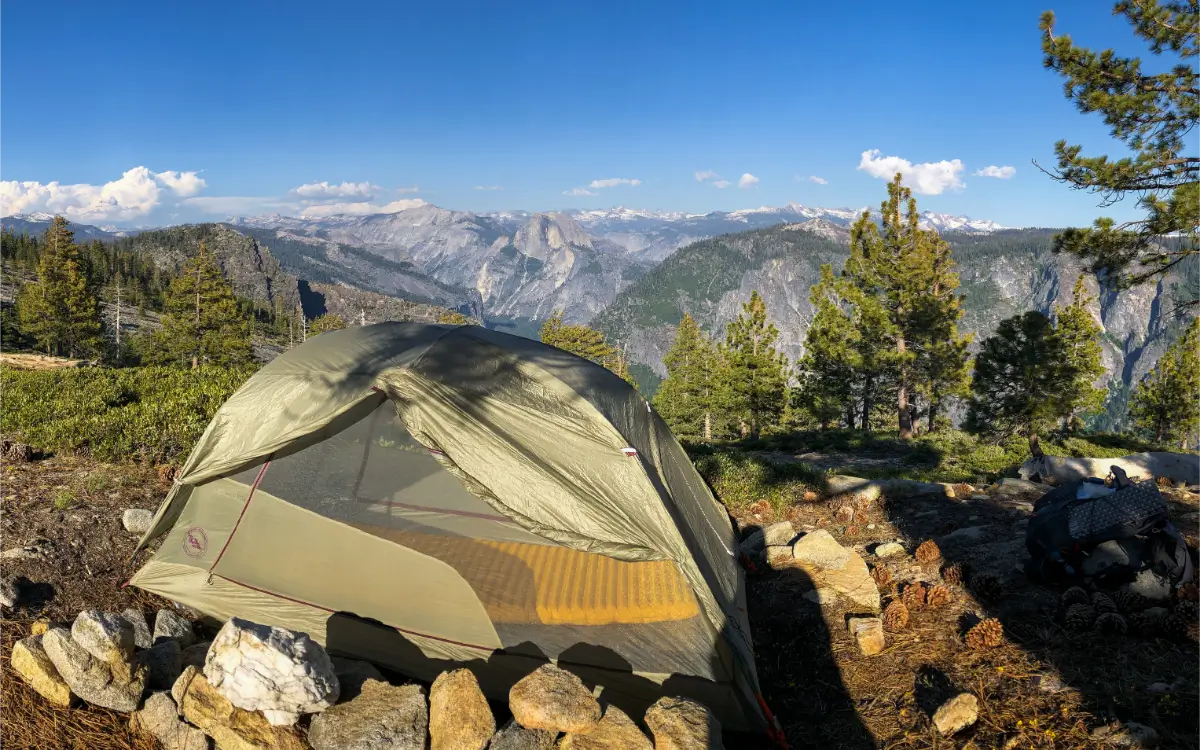
My campsite on El Capitan
Due to my late start and long(ish) day of hiking, I only had 2 hours left until sunset. I spent the evening cooking dinner, taking in the views, and wandering around the top of El Capitan. I left all of the vestibules on my rainfly open that night, and spent the night surrounded by the peaceful views of Yosemite.
Day 2
Route: El Capitan to Upper Yosemite Falls
Mileage: 8.0 miles | Highlights: Incredible views from Eagle Peak + Upper Yosemite Falls.
After breaking camp and bidding a farewell to El Capitan, I hiked about 1 mile and made a detour to Eagle Peak. The final climb to Eagle Peak includes a 400 foot ascent over 1/3 mile. At the top, I did some quick scrambling to reach the very top of the peak, and the views were absolutely incredible.
The view from Eagle Peak is arguably better than El Capitan, as you can see the valley floor in great detail, and Half Dome is even closer. In fact, I could even see people walking around on the Valley floor 4,000 feet below!
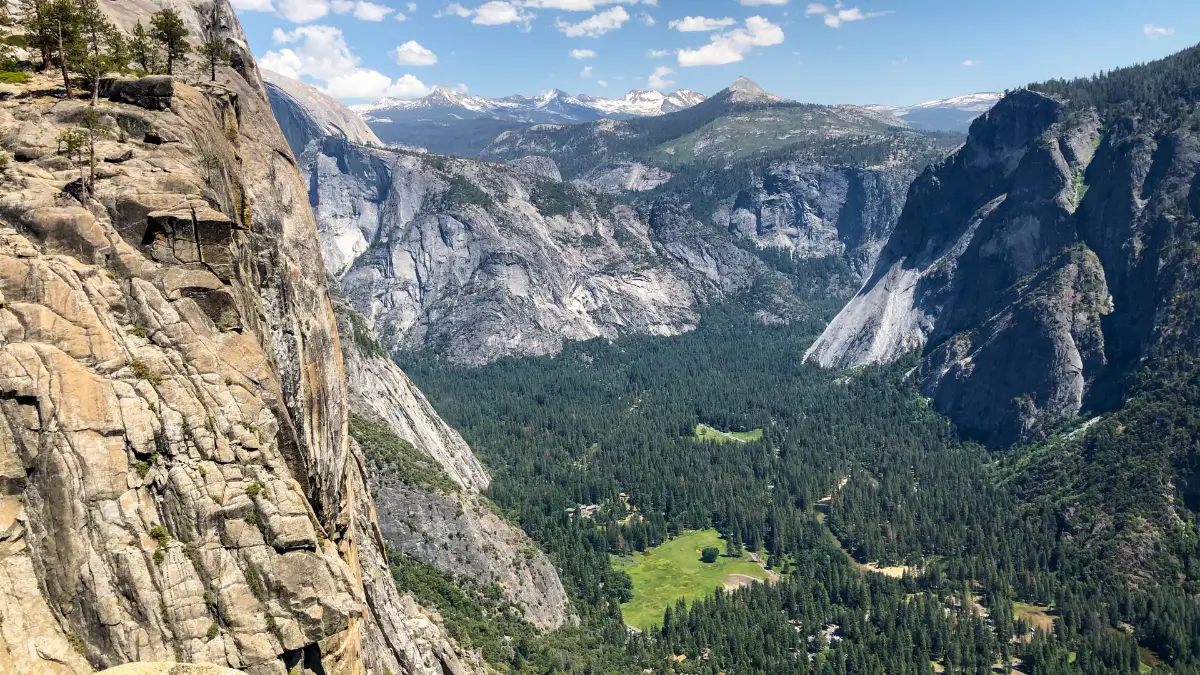
The view from Eagle Peak
Sitting up on the peak, with the morning sun bathing me in a toasty-warm glow, I didn’t want to leave. I probably stayed there for at least 30 minutes, sitting in silence and taking it all in, before a few other backpackers arrived and I departed to allow them a chance at the top.
I then made my way back to Yosemite Creek and followed it towards Upper Yosemite Falls. The section of trail from Eagle Peak to Yosemite Falls was fairly easy, and the majority of it is slightly downhill. The trail mostly follows along Yosemite Creek, which was currently rushing with water after a particularly wet winter. It was a perfect summer day to be hiking along the water.
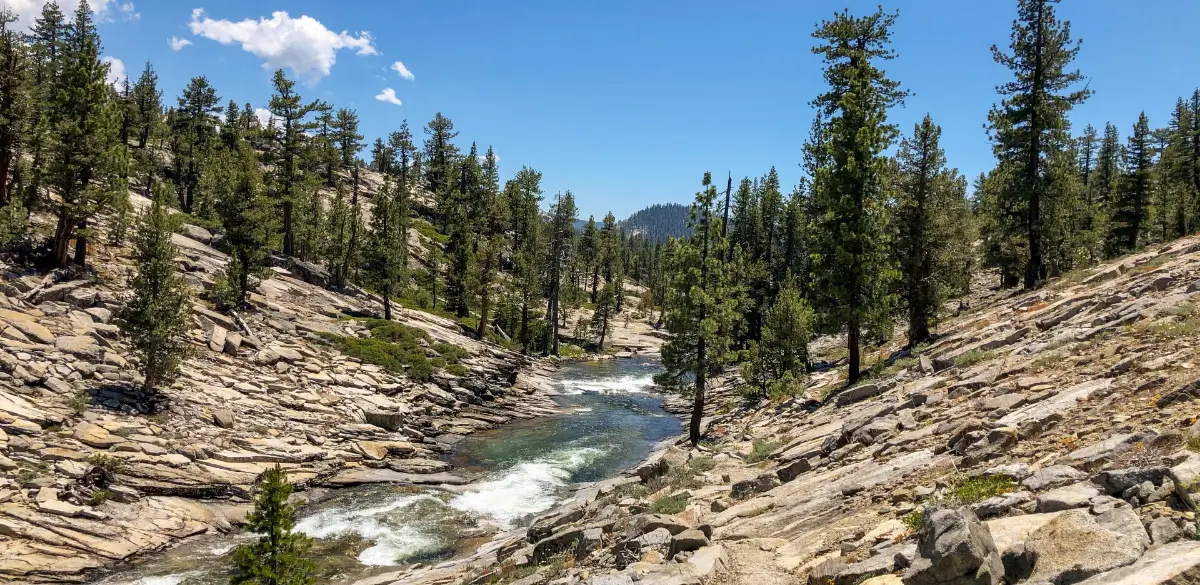
Yosemite Creek on the way to Upper Yosemite Falls
I arrived at Upper Yosemite Falls, which was super crowded with day hikers, families and groups, since it was the 4th of July weekend. I’m not a fan of crowds and groups when I’m out backpacking, so I retreated upstream about a half-mile and made camp by Yosemite Creek.
I then ventured a bit further up the creek and found a perfect spot to hang my hammock. I spent a few hours lounging (aka napping) in my hammock alongside the creek, listening to the gentle sounds of the flowing water, and counting my blessings for how lucky I was to be in such a beautiful environment.
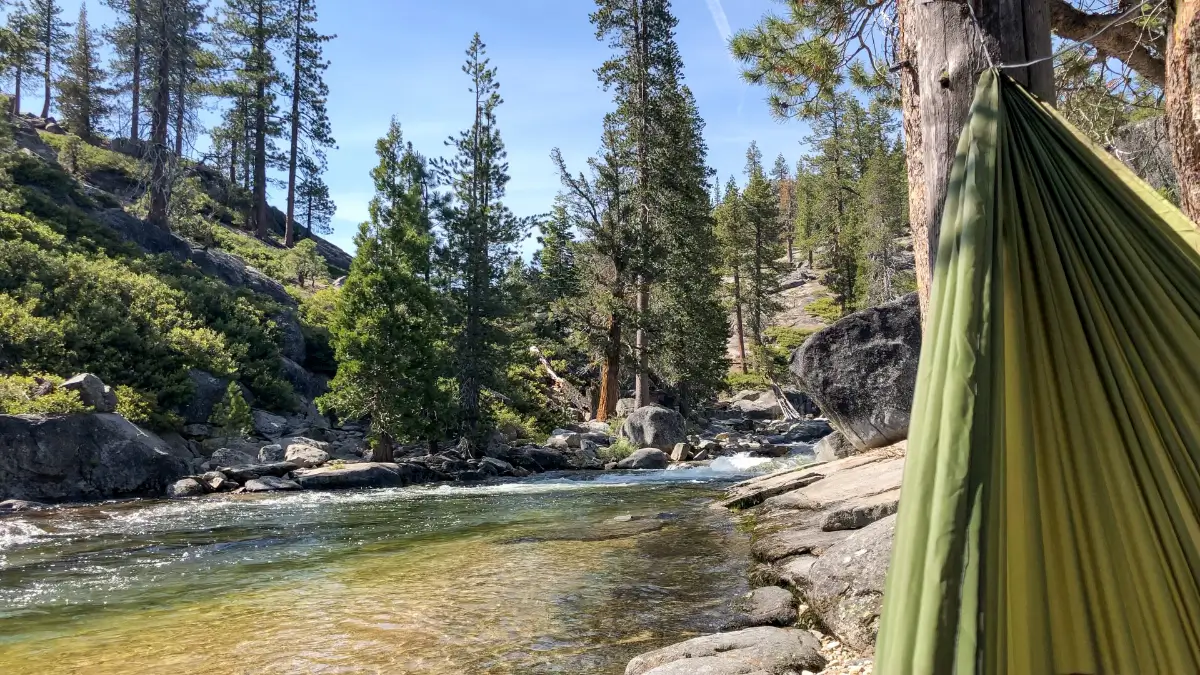
Relaxing in the hammock along Yosemite Creek
Before heading back to camp, I decided to take a dip in the creek. Although it was a warm summer day, the water was still pretty chilly! I managed to take a quick (although brief) bath in the water, before laying out on the warm granite rock to dry off in the sun.
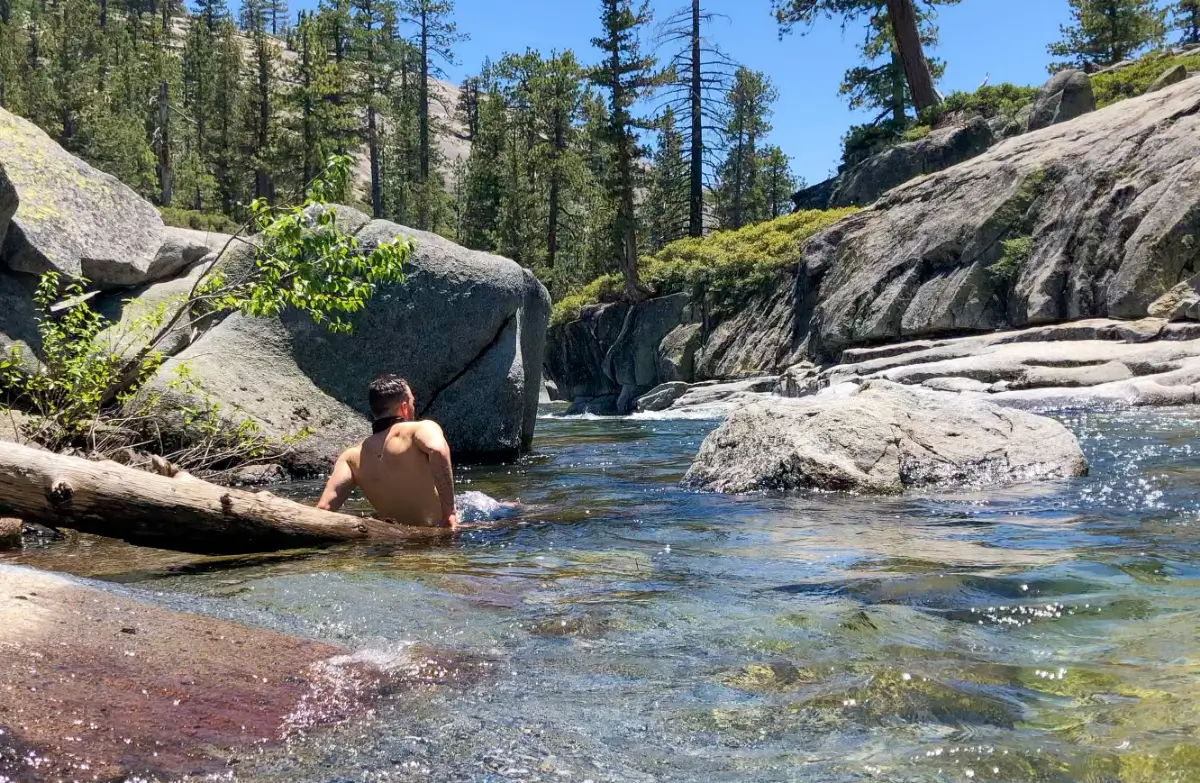
Awkward attempt at swimming in unexpectedly cold water 🤣
A few hours later, after changing into my camp clothes and eating dinner, I actually took a second dip in the creek – only this time it was NOT intentional!
I was crouching by the creek filtering some water before bed, when I accidentally slipped on a wet rock and plunged right into the creek – all the way up to my neck! Luckily, I didn’t have any electronics in my pockets, and I was able to hop right out.
I definitely made a mental note to be WAY more careful, as the majority of fatal accidents in Yosemite are due to drownings or other water-related accidents. I was only a half-mile from the edge of the Falls and many parts of the creek include rapids and really fast currents. I changed back into my dry hiking clothes and let my wet clothes dry throughout the night…lesson learned.
Day 3
Route: Upper Yosemite Falls to North Dome
Mileage: 4.5 miles | Highlights: North Dome, with dramatic views Half Dome from across Yosemite Valley
While Night 2 ended with an unintended “dip” in Yosemite Creek…Day 3 began with another unexpected “adventure”.
Earlier, I had been climbing over some boulders which were situated between my campsite and the trail. While doing some light scrambling, one of my SmartWater bottles fell out of my pack and rolled down into a deep crevice and disappeared. It quickly became obvious that my water bottle was completely unreachable, so I made a heartfelt prayer to the “Leave No Trace” gods for forgiveness, and moved on.
Later that morning, upon traversing those same rocks in order to leave my campsite, I was VERY CAREFUL to ensure that my second (and last) water bottle was safe and secure. I triumphantly made it over the rocks and was heading back to the trail when I suddenly realized – my iPhone was missing! I had been so focused on my water bottle, that I completely neglected my iPhone, which had fallen out of my open shoulder pouch into the exact same crevice!
Fighting off a mild panic, I surveyed the scene and discovered that my phone was nowhere to be found. I was “pretty” sure it fell into the same crevice as the water bottle earlier, but I wasn’t 100% sure. I spent 5-10 minutes searching around and I still couldn’t find it. Thoughts of lonely nights without being able to watch SpongeBob SquarePants videos (and insurance paperwork) started filling my mind.
I then had an idea – my phone was still powered on and synced to my InReach Mini via bluetooth. I pulled out my InReach, and sure enough – it was still paired to my iPhone. So my phone must be close by. I walked about 30 feet away, and boom – the bluetooth connection disconnected. A few steps backward, and it reconnected again. I was then able to triangulate the exact location of my phone by walking to various locations until the bluetooth connection disconnected. Eventually, I pinpointed a section of thick shrubbery near the original rock crevice, and there was my phone, sitting on the ground, completely surrounded by thick shrubs.
It’s doubtful that I would have ever found my phone if it wasn’t for my InReach, and I felt pretty darn good to have MacGyvered my way out of that situation!
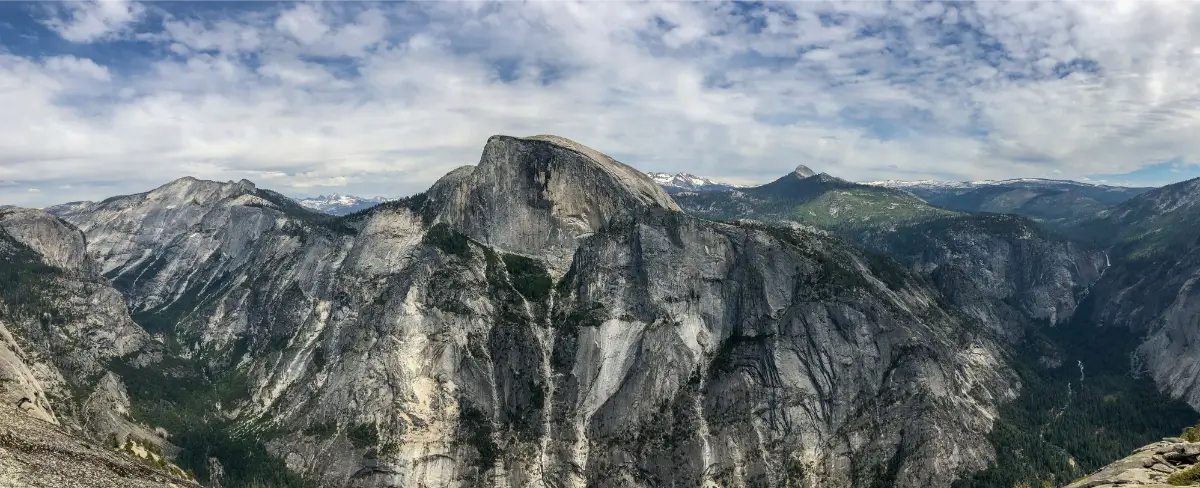
Half Dome on the way to North Dome
As I continued my way toward North Dome (my destination for Night 3), the views of Half Dome across the valley were getting even more intense from across the Valley as I approached. This was my first time seeing Half Dome from this angle and definitely from this close up. Half Dome is every bit as epic as it appears in pictures, and I was constantly stopping just to soak in the view.
I arrived at North Dome and did not find any other backpackers yet, so I again had my pick of campsites. I chose a site with a spectacular view of Half Dome and a large fire pit, shaded by trees.
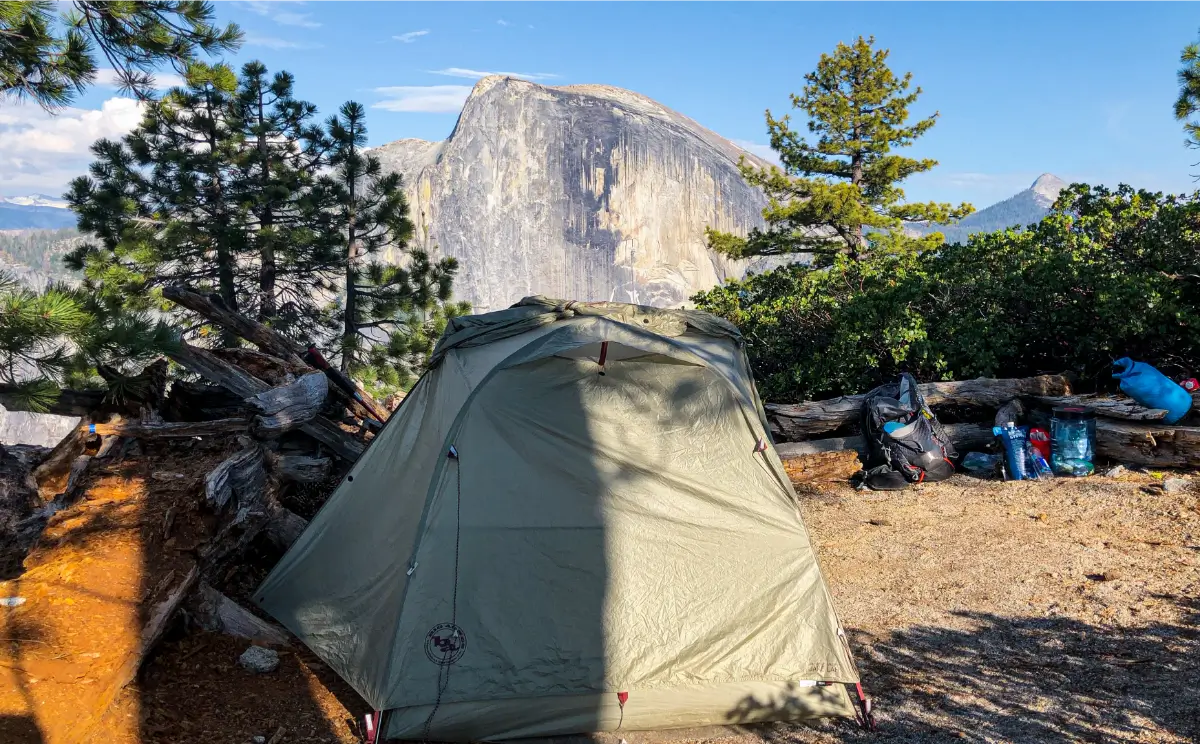
My campsite on North Dome, across the Valley from Half Dome
After setting up camp, I spent a while exploring North Dome and taking some pictures. I eventually found a couple trees near the very top of the dome and pitched my hammock. I spent an hour or two relaxing in the hammock, with Half Dome looming large over the horizon of the rock. The site was so majestic, that I literally pinched myself a few times to make sure I wasn’t dreaming.
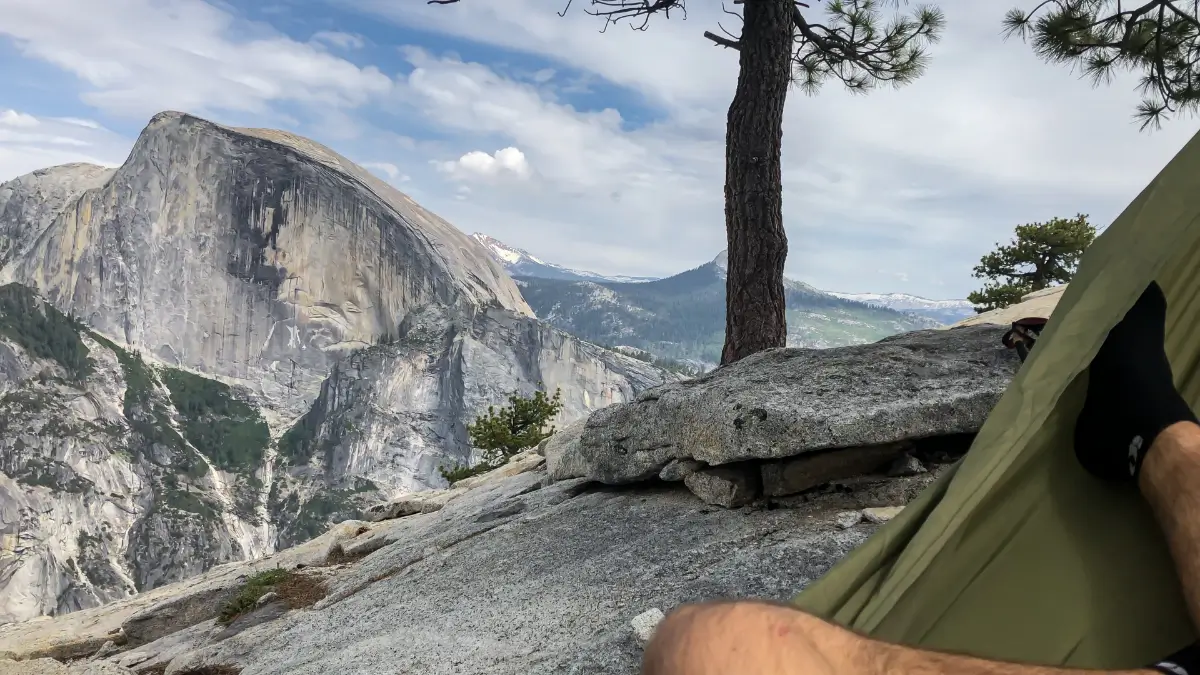
Chilling in my hammock on the top of North Dome
As the sun began to set, I lit a fire at my campsite and spent the evening watching the colors change on the face of Half Dome. I tried setting up my iPhone for a timelapse of the sunset, but the phone’s camera doesn’t do very well in low lighting, and the footage came out pretty grainy.
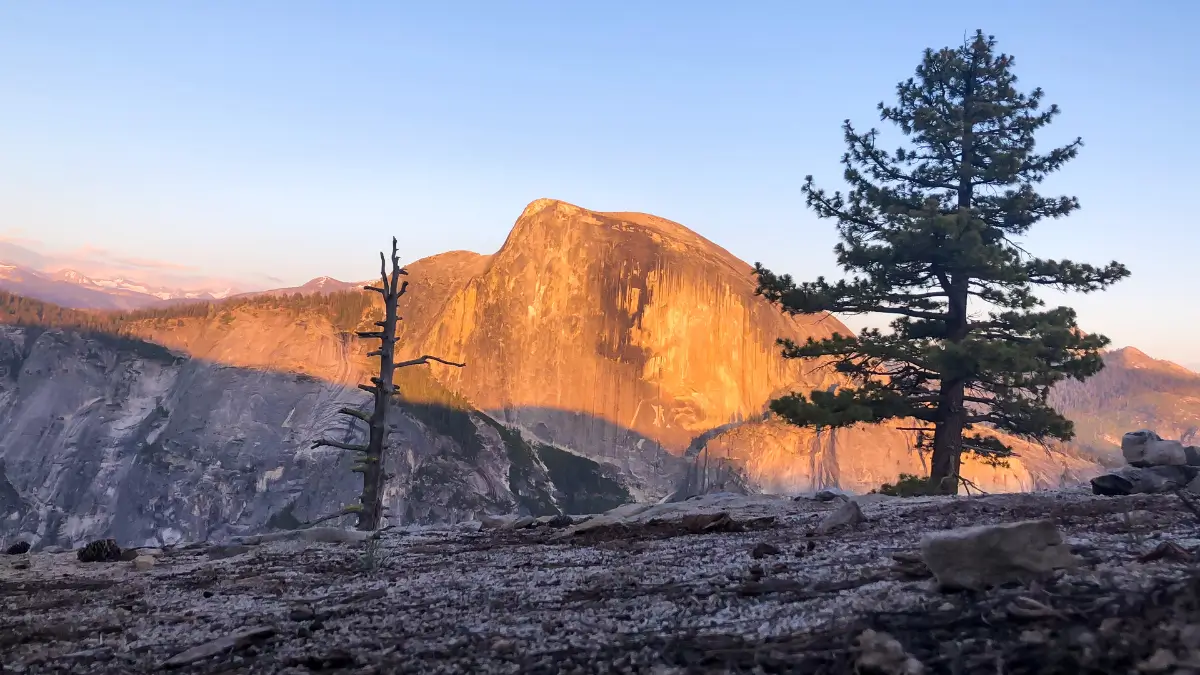
Rays of the evening sun against Half dome
As night fell and it became dark, I took a stroll to the very top of North Dome and spent some time watching the stars emerge. It was a very peaceful feeling to be up on the very top of the dome with no one else around, and the views of Yosemite Valley and various peaks surrounding me. This was the “Yosemite” that I had come to experience, and it did not disappoint.
Day 4
Route: North Dome to Porcupine Creek Trailhead (via Indian Rock)
Mileage: 5.0 miles | Highlights: Indian Rock, views of Yosemite Valley
I headed out from North Dome on the return trip to the car. This was a short day, with only 5 miles, and I departed right around sunrise. On the way back along North Dome Trail, I stopped to check out Indian Rock. This is the only natural arch formation in Yosemite, and it also includes a great view!

Indian Rock Arch
I spent some time scrambling on the rock formations (not on the arch itself). Then I hiked a few hundred feet past the arch, and reached the top of Indian Rock. I was treated to one last, fantastic view of Yosemite Valley before I headed back to the car at the Porcupine Creek Trailhead. As usual during the end of my backpacking trips, I was starting to look forward to a leisurely drive home, a hot shower – and the post-trip meal!
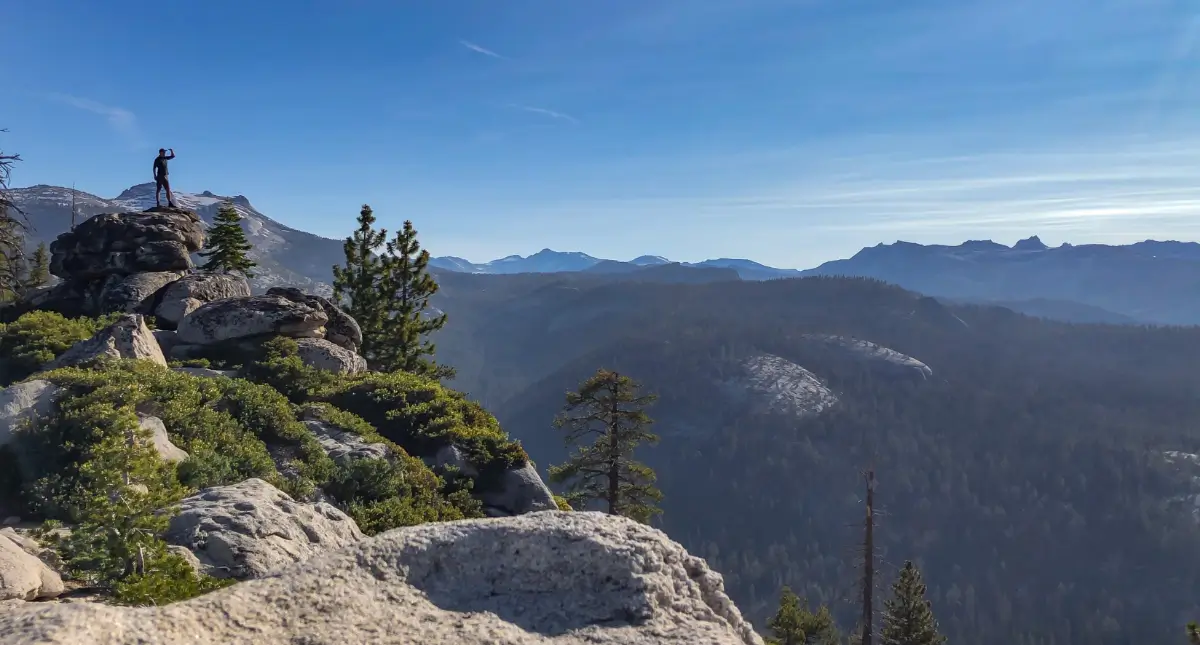
Top of Indian Rock
Final Reflections
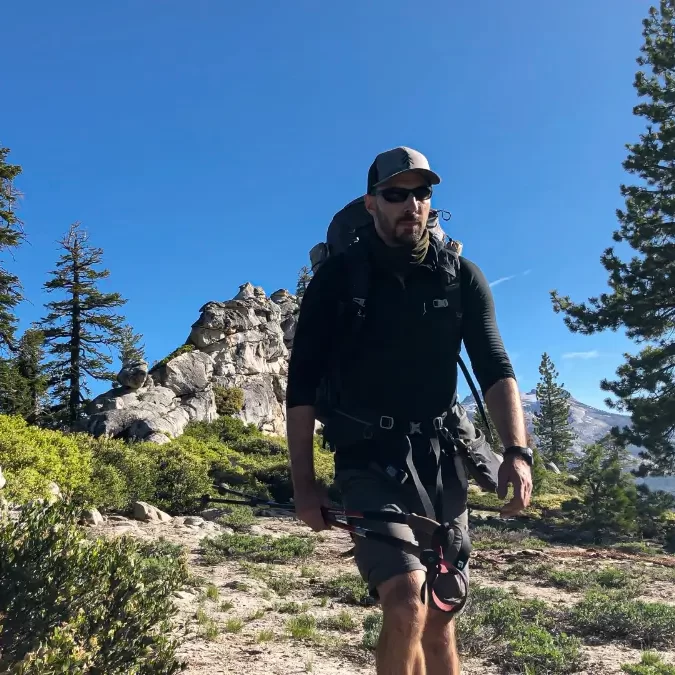
This was one of my favorite backpacking trips in Yosemite, and one of my favorite trips in general. I was able to visit five iconic Yosemite landmarks: El Capitan, Upper Yosemite Falls, North Dome, Eagle Peak, and Indian Rock – and not to mention outstanding views of Half Dome!
The trail was relatively easy and the the diversity of landscapes, vistas, and mountain peaks made every day unique and memorable. Another fantastic trip to Yosemite was in the books!
Continue Exploring:
- Check out my recommended gear list for a backpacking trip like this.
- Interested in more adventure? Read about my trip to The Grand Canyon for some epic views.
- New to backpacking? Start with my free Ultimate Beginner’s Backpacking Checklist.
- Ready to plan your first trip? Read my step-by-step guide to planning your first backpacking trip.
- Want to see more tips and trip reports in action? Follow my YouTube channel for regular updates.
Affiliate Disclaimer:
This page contains affiliate links, which means I may earn a small commission at no additional cost to you if you make a purchase through these links. Your support helps me create more helpful content for backpackers. Thank you!
Join Our Community of Adventure Seekers!
Get the latest backpacking tips, gear guides, and trail inspiration sent directly to your inbox.
Sign up to start exploring!
Welcome to the Step Massive Community!
Thanks for signing up! You’re now part of a community of backpacking enthusiasts who share your passion for the trail.
Keep an eye on your inbox for tips, gear guides, and inspiration for your next adventure.
Explore Our Resources