The Dumbest Mistake I Made Backpacking in the Rain (Don’t Do This!)

Nothing destroys a backpacking trip faster than getting soaked in freezing temperatures—especially when you’re miles from the nearest road, alone, and completely unprepared.
And that’s exactly what happened to me.
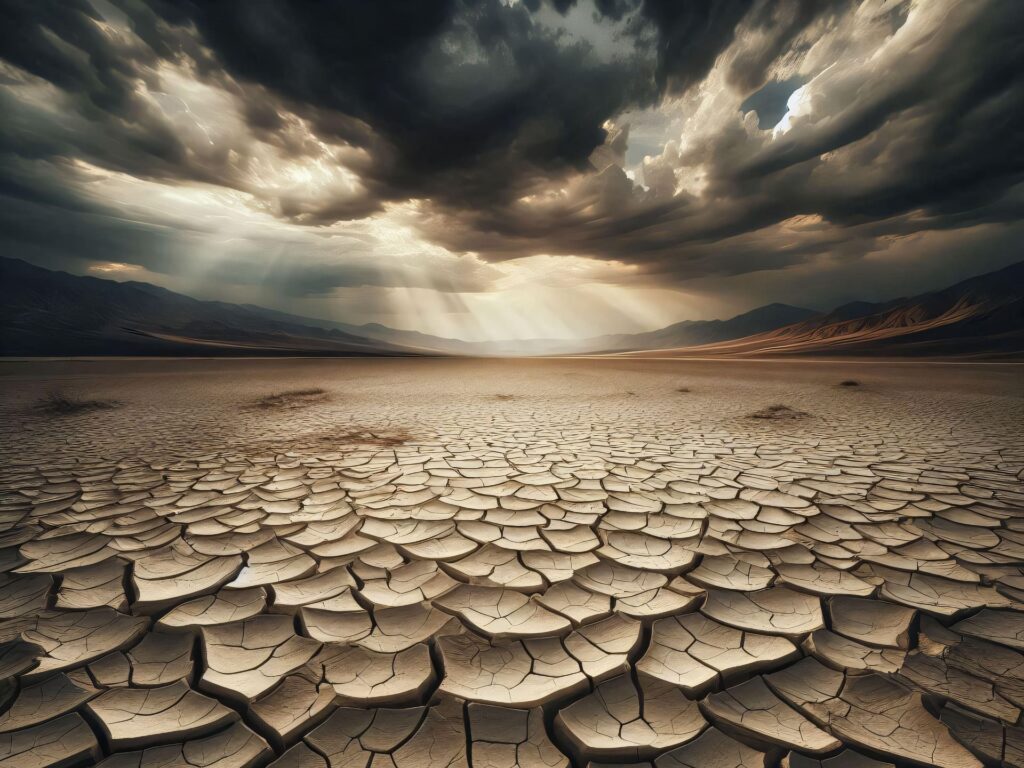
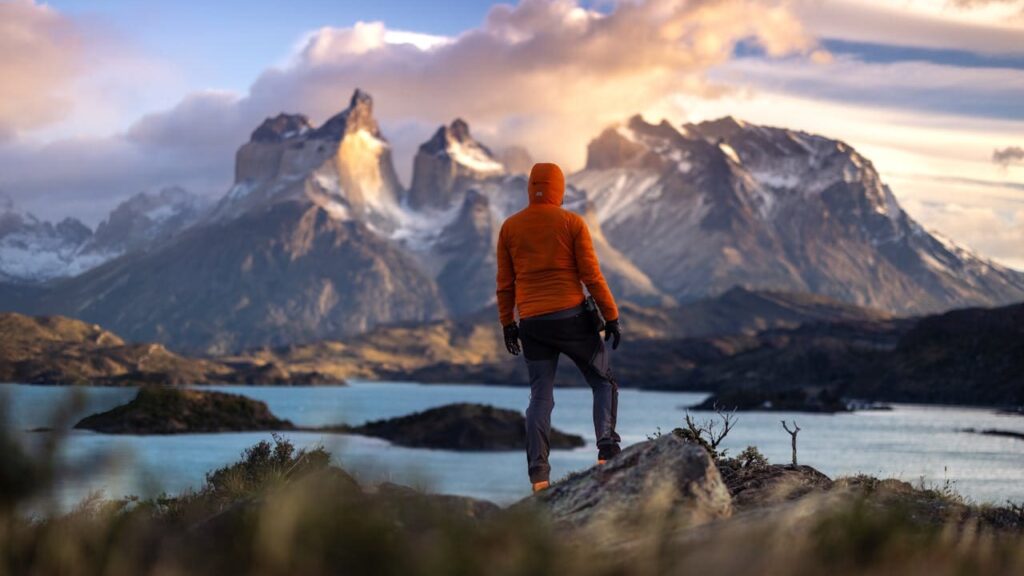
I was solo backpacking in Joshua Tree National Park, a place known for stunning rock formations, starry night skies, and brutal temperature swings. You can hike in a T-shirt by day and be shivering in a down jacket by night. The forecast? Perfect. Sunny, 65°F during the day, and dropping to 32°F at night—right at freezing. That meant one thing: staying dry was non-negotiable.
🚨 Before we dive in—grab my FREE Backpacking Gear Checklist so you don’t make the same mistakes I did!
🎥 Prefer to watch? Check out my full YouTube breakdown here!
Disclosure: This post contains affiliate links. As an Amazon Associate, I earn from qualifying purchases. I only recommend products I use and trust.
A Simple Mistake That Almost Ruined My Trip
Like a responsible backpacker, I checked the forecast twice—once at home and again with my Garmin inReach Mini [on Amazon] just hours before setting up camp. Zero. Percent. Chance. Of. Rain.
With that in mind, I figured—why not enjoy the stars? Joshua Tree is known for some of the clearest night skies in the country. It felt like a waste to completely cover my tent with my rainfly when I could be falling asleep under the Milky Way.

So I decided to compromise. I left half of my rainfly off, thinking if I heard rain in the middle of the night, I could simply pull it over from inside my tent. No big deal, right?
Wrong.
Because that was just mistake number one.
The second mistake was one I didn’t even think twice about at the time—but it ended up turning this situation from bad to worse.
That mistake? Leaving camp without my rain jacket.
Why I Left My Rain Jacket Behind
The reason actually seemed perfectly logical in the moment.
If you’ve ever backpacked in the desert, you know water is a huge challenge. Unlike mountain environments with rivers and streams, Joshua Tree has no natural water sources—and collecting water is actually illegal in the park to protect the fragile ecosystem.
That means if you want to backpack here, you have to cache water ahead of time.
So earlier in my trip, I had stashed a water supply two miles away along a remote dirt road, planning to hike over and grab it. It was a quick out-and-back hike, and I figured it would take me less than an hour round-trip.
Since it was such a short trek, I decided to travel light. No extra layers, no rain jacket—just my base layers and my empty bottles.
Because, duh, it’s the desert.
And it’s not supposed to rain.
But as I reached my water cache and turned back toward camp, I felt something unexpected.
A single, tiny raindrop landed on my face.
I stopped in my tracks. Looked up.
The sky, which had been clear just moments ago, was now darkening fast.
Then, another drop.
Then another.
And before I even had time to process what was happening, the sky opened up.
All hell broke loose.
Backpacking in the Rain: What I Did Wrong
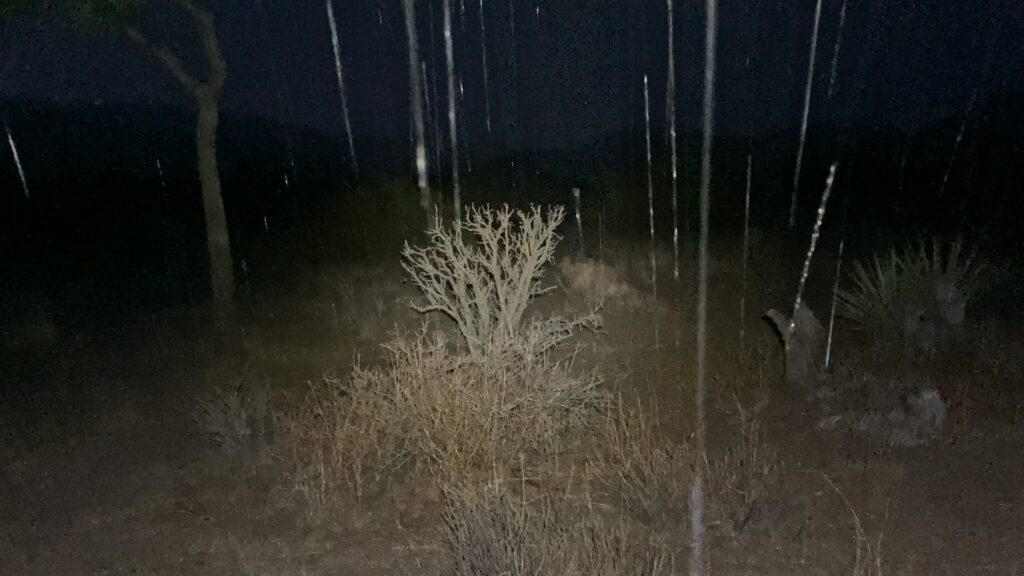
The rain came out of nowhere—a full-on desert downpour.

And if you’ve never experienced rain in the desert, let me tell you—it doesn’t just drizzle. It dumps.
One second, the sky was clear, and the next, I was in a wall of water.
Within seconds, I was drenched. My shirt clung to my skin, and water streamed off my pack. The dry, packed dirt that had crunched beneath my boots morphed into slick, sucking mud. Each step felt like I was walking through wet cement.
Rain pounded the ground, hitting so hard it bounced back up, soaking me from both directions. Visibility dropped to near nothing—my headlamp’s beam reflected off the falling sheets of water, making it even harder to see.
Then, thunder boomed in the distance.
And that’s when it hit me:
Half of my tent was exposed. My down quilt was inside. And I had no idea if I left it under the covered side.
Panic kicked in.
I picked up my pace, walking faster, then jogging. My boots slipped on the wet rocks, every step an effort to keep from face-planting into the mud. The rain wasn’t slowing down, and the temperature was already dropping—fast.
I could feel it in the air. That sharp bite of cold that tells you the storm is dragging in colder temperatures behind it. I glanced at my watch. 7:45 PM. The forecast had called for 33°F by morning—and now, with my clothes soaked through, I was losing body heat even faster.
If my quilt was wet, I was in serious trouble.
By the time I reached my tent, I already knew the answer before I even unzipped the door.

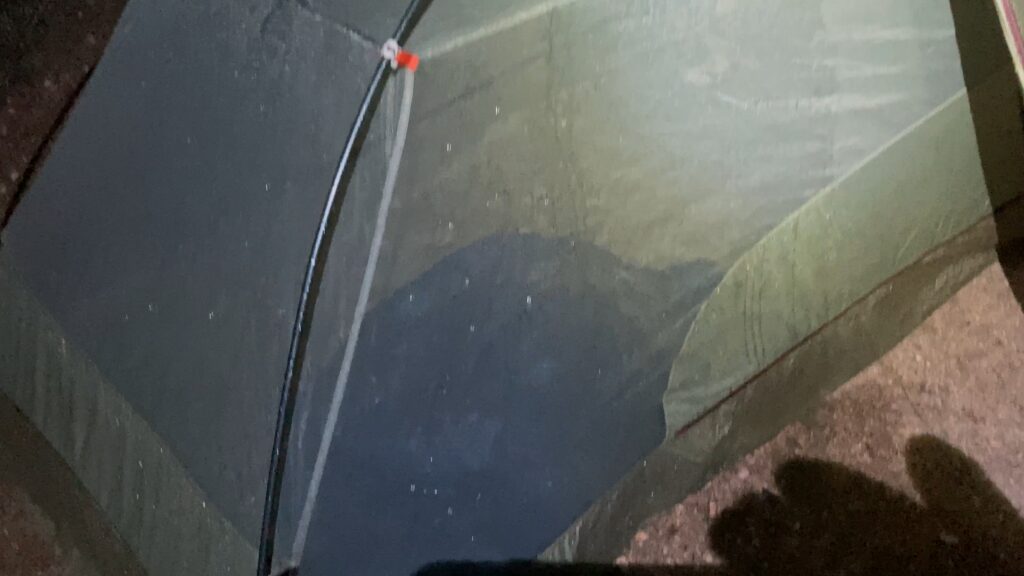
My stomach sank as I reached inside and felt cold, soggy fabric.
The tent floor? Soaked.
The quilt? Drenched.
The temperature? Already dropping below 40°F, heading toward freezing.
My only source of warmth—the one thing I absolutely needed to stay alive through a freezing night—was now just a cold, wet pile of down.
This wasn’t just uncomfortable—it was dangerous.
Surviving the Night: How I Fixed My Wet Gear
At this point, I had three options, and none of them were great:
Option 1: Hike Back to the Car
This was my first instinct—just get out of there. But there were three major problems:
- The car was an hour away. That’s at least three miles of night hiking through rocky, cactus-filled terrain.
- I was already wet and cold. Walking that long in wet clothes at near-freezing temperatures (33°F forecast) could make things worse—especially with the wind picking up.
- The trail was now slippery mud. The rain had soaked the desert floor, and some sections of my route were now slick, uneven terrain. One bad slip and I’d be injured, wet, and even colder.
Even though my gut told me to bail, I knew that trying to hike out like this wasn’t the safest choice.
Option 2: Sleep in a Wet Quilt
This wasn’t really an option.
A wet down quilt loses all insulation—instead of trapping heat, it pulls heat away from your body. Combine that with 33°F temperatures, and I’d basically be lying in a cold, wet sponge all night.
That’s a textbook recipe for hypothermia.
Option 3: Go Full Survival Mode
So, I chose option three—stay put and find a way to get warm.
Step 1: Remove as Much Water as Possible
First step—sponge patrol.
I grabbed my microfiber towel and immediately got to work.
- I started with my quilt, pressing it between the towel and wringing out every drop of water I could.
- I wiped down my sleeping pad, which was covered in condensation and puddles from the leaking tent.
- I mopped up the tent floor, pushing the remaining water out through the tent door like I was bailing out a sinking boat.
This process took 45 minutes of constant work. My hands were freezing, but every bit of water I removed meant a little more warmth later.
Step 2: Layer Up with Dry Clothes
Once I had removed as much water as possible, my next priority was keeping whatever body heat I had left.

Thankfully, I had one piece of luck—my down jacket [Amazon] was still bone dry because I had stuffed it in a pack liner.
That jacket became my lifeline.
I put it on immediately, along with:
✅ My merino wool baselayers, which were still mostly dry.
✅ My fleece mid-layer, which had stayed protected inside my pack.
✅ My wool hat and gloves, which were cold but dry enough.
✅ My rain pants, which weren’t for warmth but helped trap heat.
At this point, I was still cold, but I at least had some insulation. Now, I just had to generate heat.
Step 3: Generate Heat (Fast)
Even with layers, I was still shivering. The cold, damp quilt was sucking heat away from my body, and I knew I had to warm up fast before I started losing too much core temperature.
So, I went into full survival mode:
- I ate 1,000 calories of food—a mix of trail mix, peanut butter, and energy bars. Your body burns extra calories trying to stay warm, and eating before bed helps generate body heat while you sleep.
- I did 100 jumping jacks outside the tent. This felt ridiculous in the rain, but physical movement is key to warming up. My body needed to actively produce heat before I crawled back into my quilt.
- I bundled up inside my damp quilt and hoped for the best.
At first, it was miserable. The quilt felt cold and clammy, and every time I shifted, I hit a wet spot. But slowly—very slowly—something amazing happened.
My body heat started to dry out the insulation.
Not completely. Not perfectly. But just enough that the quilt trapped a little warmth instead of sucking it away.
The Outcome: A Rough But Survivable Night
I won’t lie—it wasn’t a great night. I woke up multiple times, adjusting my layers and trying to stay warm.
But somehow, I made it through.

By morning, the storm had passed, and the desert was silent and fresh—like nothing had happened. Meanwhile, I looked like I had just fought a bear and lost.
My quilt was still damp, but I laid it out in the morning sun for a few hours, and it eventually dried completely.
And that was it—I had survived my dumbest backpacking mistake.
Lessons Learned: How to Stay Dry While Backpacking
Backpacking teaches you lessons the hard way, and this trip was no exception. If I had made just one small adjustment, my night would have been completely different—warmer, drier, and far less stressful.
Here’s what I learned about staying dry while backpacking, so you don’t make the same mistake.
1. Always Put Your Rainfly On—Especially If You Leave Camp
If you’re at camp and the weather looks good, leaving part of your rainfly off for ventilation or stargazing is fine. But the moment you leave camp—even for a short hike—your rainfly needs to be fully secured.
Why? Because unexpected weather can hit at any time, and if you’re not there to react, your entire shelter—and everything inside it—could get soaked before you even realize it’s happening.
If you absolutely insist on leaving your rainfly halfway off, at least make sure your critical gear (sleeping bag, quilt, dry layers, electronics) is under the covered section of your tent. Otherwise, you’re playing with fire—or in this case, water.
2. Never Leave Camp Without a Rain Jacket

Even if the forecast says zero percent chance of rain, nature doesn’t care.
I learned this lesson the hard way when I left my tent for a quick two-mile hike without my rain jacket—only to get caught in a desert downpour. The result? I showed up at camp drenched and had no way to dry off.
Now, I always carry a Frogg Toggs ultralight rain jacket [Amazon] at all times. It’s lightweight, packable, and cheap—but most importantly, it works when you need it.
3. Use a Pack Liner to Protect Your Insulation
Down insulation is amazing—until it gets wet. Then, it’s just cold, expensive fluff.
The best way to protect your sleeping bag or quilt is to store it inside a waterproof pack liner. A Nylofume Pack Liner costs under $10, weighs almost nothing, and could save your life in a situation like this.
A pack liner is more reliable than a rain cover because it completely seals moisture out, even if your backpack gets soaked.
4. Always Carry a Microfiber Towel—It’s a Lifesaver
A microfiber towel might seem unnecessary, but trust me—it’s not.
When my tent floor flooded, my microfiber towel became my first line of defense. I used it to sponge up water, wring it out, and repeat—until I had soaked up as much moisture as possible.
Without it, I would have been stuck sleeping in a puddle.
5. Expect the Unexpected—The Forecast Isn’t Always Right

I checked the forecast twice before this trip—once at home, and once with my Garmin inReach Mini [on Amazon] right before the storm hit.
Both times? Zero percent chance of rain.
And yet, I still got completely soaked.
Weather in the backcountry is wildly unpredictable, and microclimates (like deserts and mountains) can create storms out of nowhere.
The best mindset? Always assume it might rain, even if the forecast says otherwise.
Final Thought: Staying Dry is More Than Just Comfort—It’s Survival

A wet sleeping bag at 33°F isn’t just miserable—it’s dangerous.
A few simple steps—securing your rainfly, carrying a rain jacket, using a pack liner, and keeping a microfiber towel handy—can completely change your experience.
I learned this lesson the hard way. Hopefully, you won’t have to.
If you want to avoid a mistake like this, check out these backpacking essentials:
📌 Beginner Backpacking Gear Guide – The must-have gear to keep you dry and warm.
📌 Top 10 Mistakes Beginner Backpackers Make – How to avoid common backpacking mistakes.
📌 Backpacking Checklist – Free printable gear checklist.
Stay dry, don’t trust the forecast, and I’ll see you on the next adventure!
Join Our Community of Adventure Seekers!
Get the latest backpacking tips, gear guides, and trail inspiration sent directly to your inbox.
Sign up to start exploring!
Amazon and the Amazon logo are trademarks of Amazon.com, Inc. or its affiliates.

